
Jun 14th, 2016
Category: Training
4 Point Brace
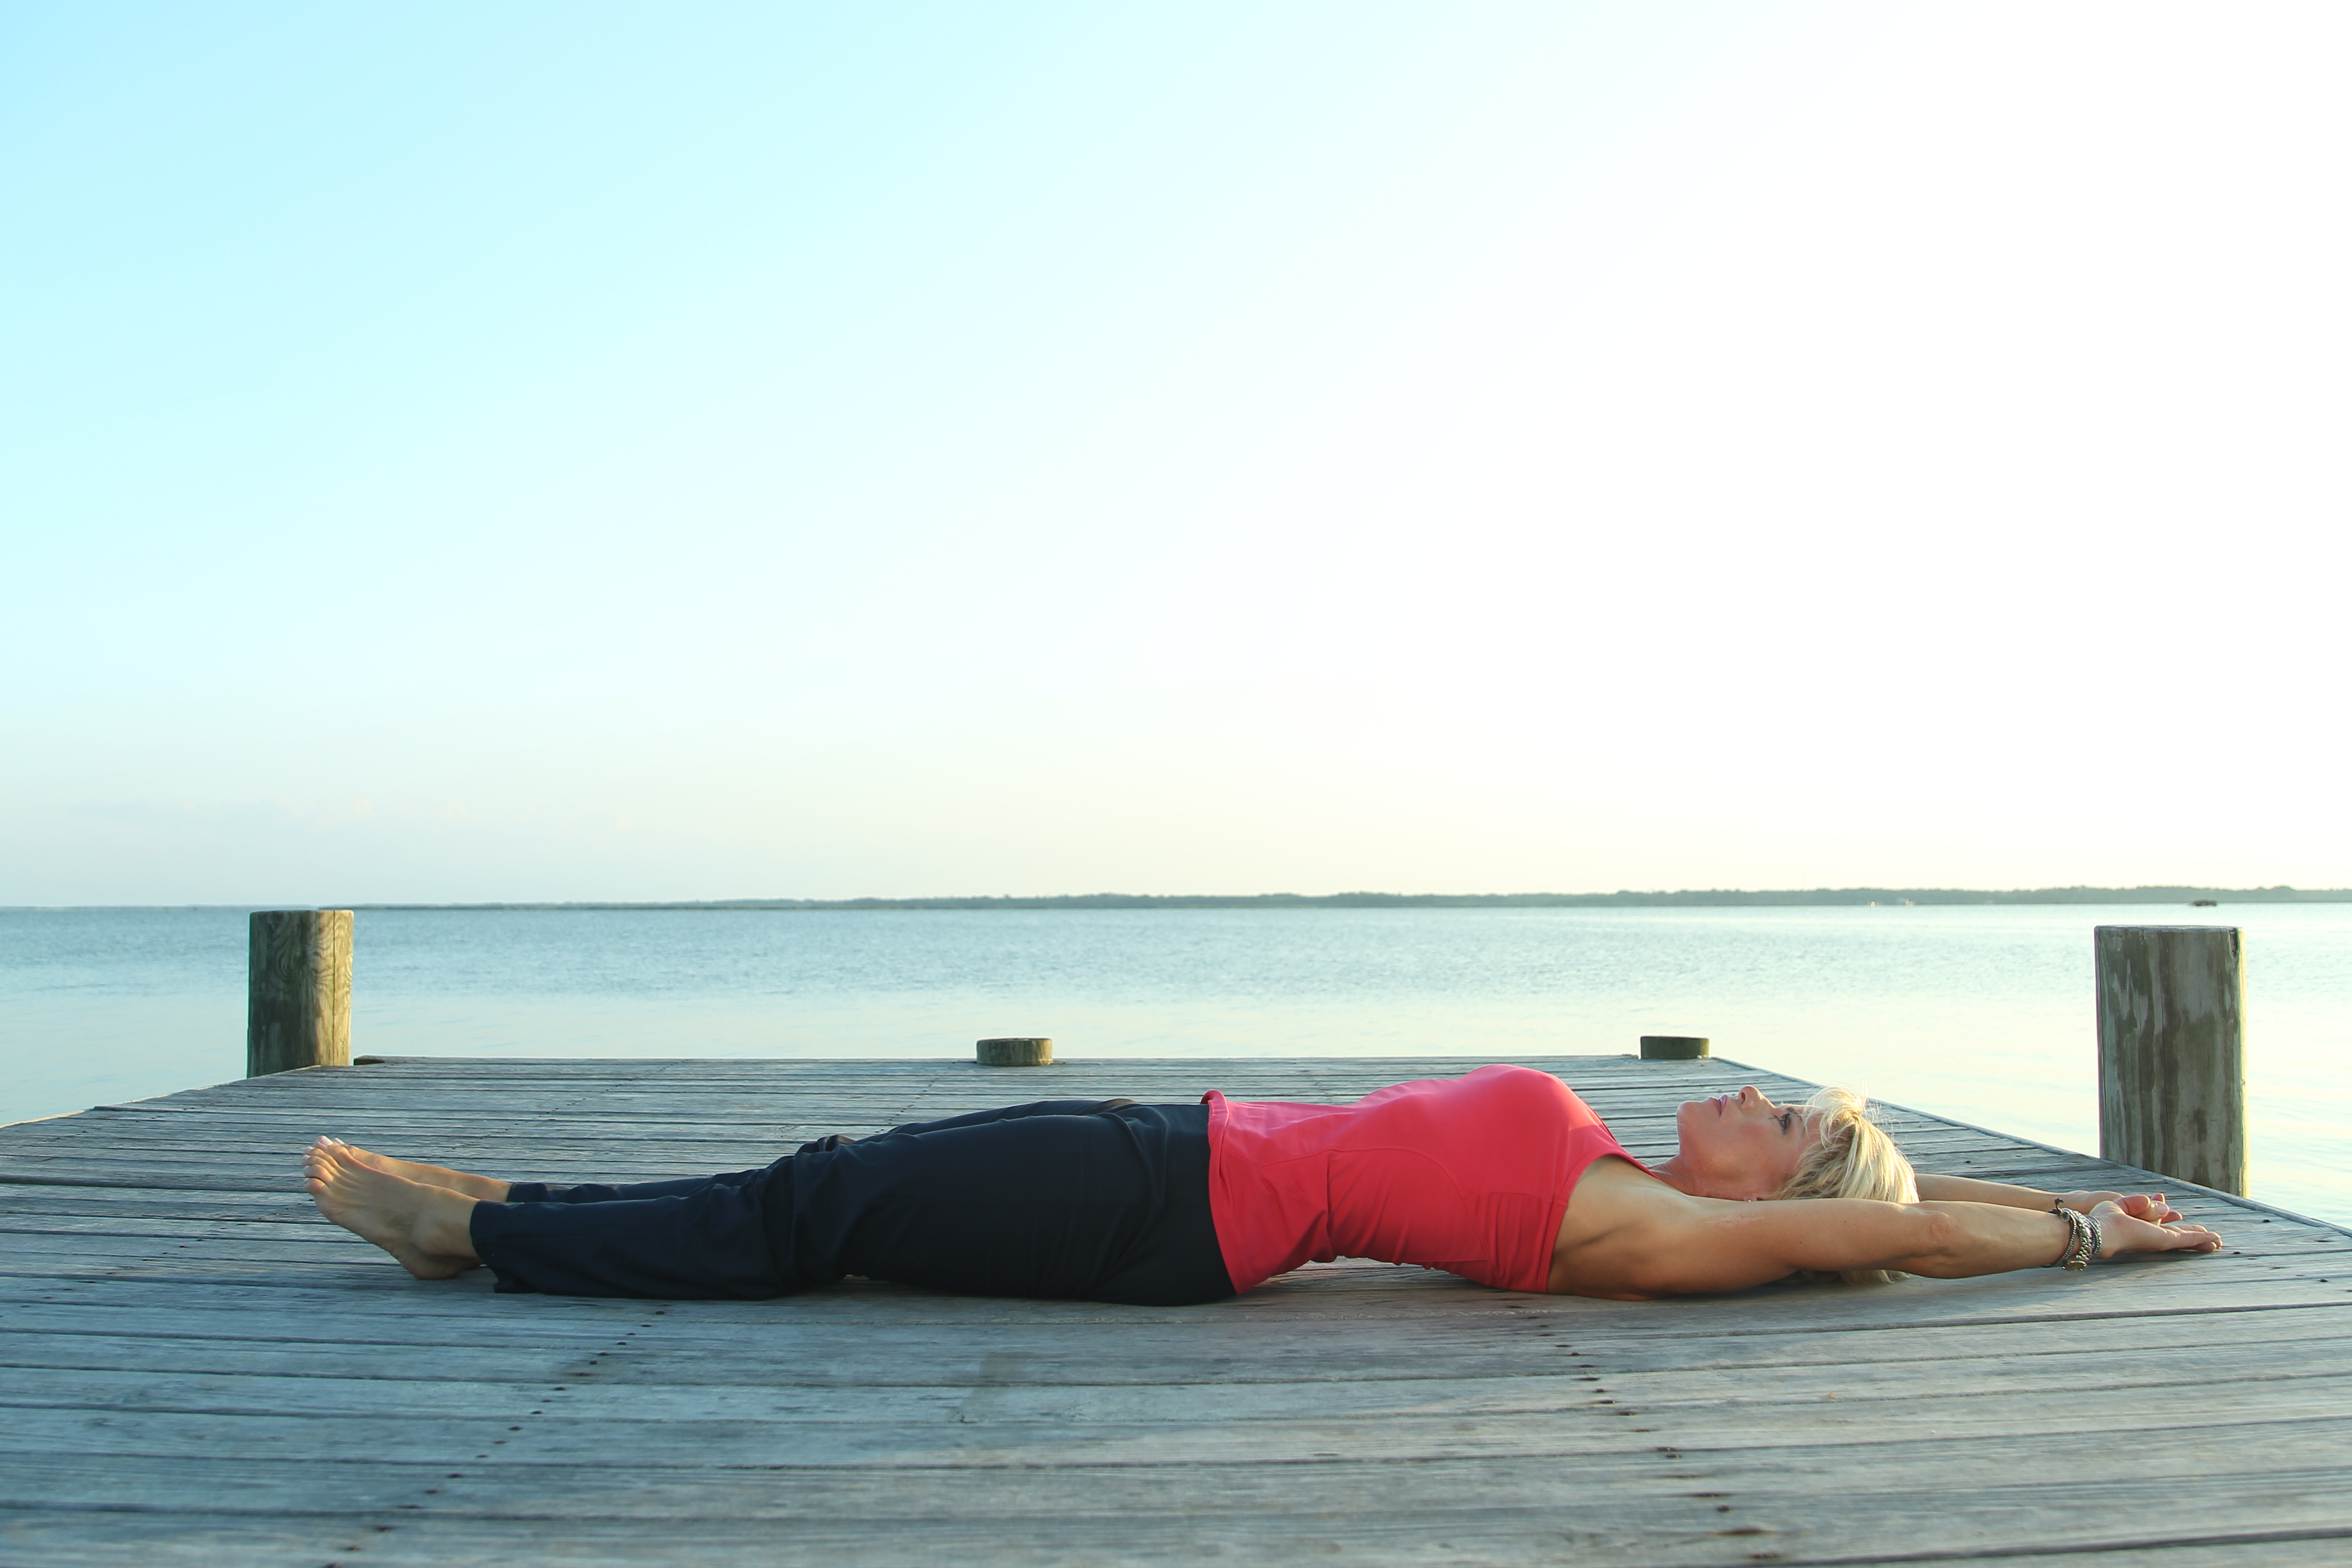
Begin by lying on your back, on the floor, knees bent, and little to no weight in your feet. Stabilize the small of your back by bracing your lower abdominal wall and rooting your back to the mat. Once you have stabilized, brace the upper part of the rectus abdominus, the transverse abdominus and intercostals. This whole sequence will now be referred to as your “4 point brace”.
With the core completely braced, begin by walking the feet. Slowly bring the knees above the hips, alternating legs as you “walk” and maintain your 4 point brace and keep the body anchored. Try to “walk” as close to a minute as you can.
Now, let us move onto our side. With the body in a straight line. Get into your “4 point brace” and flex your obliques. With obliques flexed, place top hand onto your waist to make sure you do not loose flexion. Once stable, lift both legs as high to your side as you can manage, now, let’s go into a scissor. The slower you go, the heavier you are, increasing load onto the waist, and therefore the harder you will work.
Let’s go back onto our backs, and perform paragraph one and two (above). This time, begin with knees stacked above hips and walk from the upright / suspended position, down towards the floor. Try to walk as close to a minute as you can manage, maintaining proper form always.
Now, let us move onto our side. With the body in a straight line, Get into your “4 point brace” and flex your obliques. With obliques flexed, place top hand onto your waist to make sure you do not loose flexion. Once stable, lift both legs as high to your side as you can manage, now, let’s go into a scissor. The slower you go, the heavier you are, increasing load onto the waist, and therefore the harder you will work. Perform 4 complete scissors, and then hold with the top leg straight down from hip and the bottom leg diagonally forward, as far forward as you can manage and hold. Now, stabilizing whole body, do not lean forward or back, try to anchor your body down the best you can. Perform 10 leg lifts only moving the bottom leg up to the ceiling. Once complete, bring body back to a side lying position. Hold legs elevated above floor, lift top leg up 2 inches / hold and now perform 10 reputations of bottom leg meeting the top leg. Maintain your 4 point brace at all times, maintain stability and balance, and do not “wiggle”. Anchor your body to the best of your ability.
Let’s go back onto our backs, and perform paragraph one and two (above). This time, begin with knees stacked above hips and walk from the upright / suspended position, down towards the floor. Try to walk as close to a minute as you can manage, maintaining proper form always. Adding the third layer onto our foundational movement: left leg is long and right arm is reaching up towards left foot. Maintain 4 point brace throughout, and reach arm toward foot, move in tandem as you work your hand away from foot, repeating 10 repetitions ( or as many as your ability to maintain proper form and the 4 point brace) and then repeat on the opposing side.
One time through is a fantastic feat! As you become stronger and your stability, balance and strength improve, try performing a second cycle through the entire sequence or as far as you can manage, always making the 4 point brace your primary goal and proper form for safety.
Enjoy.
Please remember to stretch and reset the muscles worked for proper recovery.
In health, Kirsten
I am in fact thankkfᥙl to the owner of this web page who has shared this wonderful article at here.
my page – insert for shoes